So, for the last bit I set up a simple scene and imported the mesh of my car and the two sets of textures, one for the car and one for the decal. Once implemented, I put it together and placed it in the small scene to take some screen shots
Sunday, December 11, 2016
Sunday, December 4, 2016
Week 8 - Decal and Mental Ray
For week 8, I started out with creating a decal that would fit the shape of my car by doublicating the area where it needed to be and textured it with a photoshop picture that I edited to only be the decal and not any background material for it. So, first I found something and then edited it in photoshop.
Once edited, I started the process of creating a new piece of my car for it to go onto.
doublicated the car and then I inversed the selected area I wanted and deleted it so I ended up with the area for the decal.
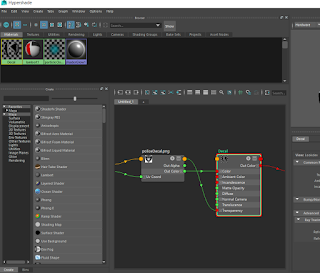
I then went on to import the texture as a lambert and then UV edited it so it fit properly.
And finally, the decal was in place and look great
Started working with mental ray and applied a car texture to it.
After adding some metallic shine to my car, I finished it off with creating a glass like texture for the windshield and headlights.
Subscribe to:
Comments (Atom)


